DIY Soot Web Removal: Safety Precautions and Step-by-Step Guide
8/13/2023 (Permalink)
 By following the step-by-step guide and implementing safety precautions, you can safely eliminate soot webs.
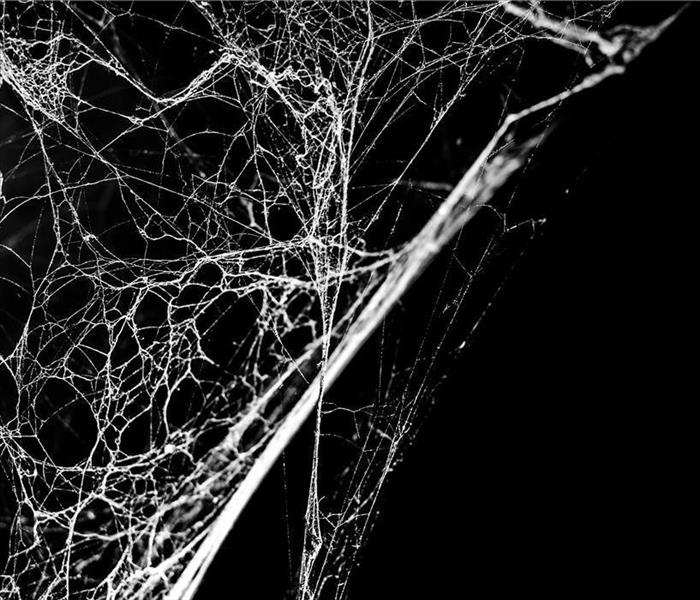
Soot webs can be a frustrating and unsightly issue for homeowners and property owners. These dark, sticky webs are formed when soot particles combine with moisture, creating a substance that attracts dust and other airborne particles. While professional cleaning services are available, some individuals may prefer a do-it-yourself (DIY) approach to removing soot webs. In this blog post, we will provide you with a step-by-step guide for DIY soot web removal, along with essential safety precautions to ensure a successful and safe cleaning process. By following these guidelines, you can effectively eliminate soot webs and restore the cleanliness of your home or property.
Safety Precautions
Wear Protective Gear
Before starting any cleaning process, it is crucial to prioritize your safety. Wear protective gear such as gloves, goggles, and a dust mask to shield yourself from potential respiratory irritants and allergens present in the soot webs.
Ensure Proper Ventilation
To avoid inhaling airborne particles and fumes, open windows and provide adequate ventilation in the area you are cleaning. This will help minimize the concentration of particles and improve air circulation.
Turn Off Heating/Cooling Systems
If the soot webs are present near heating or cooling vents, turn off the systems before cleaning. This prevents the spread of particles throughout your home or property and avoids potential damage to the HVAC system.
Step-by-Step Guide for Soot Web Removal
Step 1: Assess the Area
Thoroughly examine the affected area to identify the extent of the soot web accumulation. This will help determine the appropriate cleaning methods and tools needed.
Step 2: Prepare the Cleaning Solution
Mix a mild cleaning solution by combining warm water with a small amount of dish soap or a specialized soot cleaner. Avoid using harsh chemicals, as they may cause further damage to surfaces.
Step 3: Test on a Small Area
Before applying the cleaning solution to a larger surface, test it on a small, inconspicuous area to ensure it does not cause any discoloration or damage. Wait a few minutes and observe the test spot for adverse reactions.
Step 4: Vacuum Loose Soot
Using a vacuum cleaner with a brush attachment, gently vacuum the affected area to remove loose soot and debris. Be careful not to press too hard on delicate surfaces to avoid spreading the soot or causing damage.
Step 5: Wipe with Cleaning Solution
Dampen a soft cloth or sponge in the cleaning solution and wring out any excess liquid. Lightly wipe the soot webs, applying gentle pressure to loosen and remove the residue. Work in small sections and regularly rinse the cloth or sponge to prevent smearing.
Step 6: Rinse and Dry
Once you have removed the soot webs, rinse the cleaned area with a clean cloth or sponge dampened with plain water. Ensure that no cleaning solution residue remains. Thoroughly dry the surface using a dry cloth or allow it to air dry completely.
Step 7: Dispose of Waste Properly
Dispose of any collected soot and cleaning materials in a sealed bag to prevent spreading the particles. Follow your local regulations for waste disposal to ensure compliance.
DIY soot web removal can be an effective solution to restore cleanliness and aesthetics to your home or property. By following the step-by-step guide and implementing safety precautions, you can safely eliminate soot webs. However, if you are unsure about the extent of the issue or encounter stubborn soot webs, it is recommended to seek assistance from a professional restoration expert, such as SERVPRO of Tyler. Remember, regular maintenance and cleaning can help prevent the recurrence of soot webs, ensuring a clean and healthy living environment.


 24/7 Emergency Service